
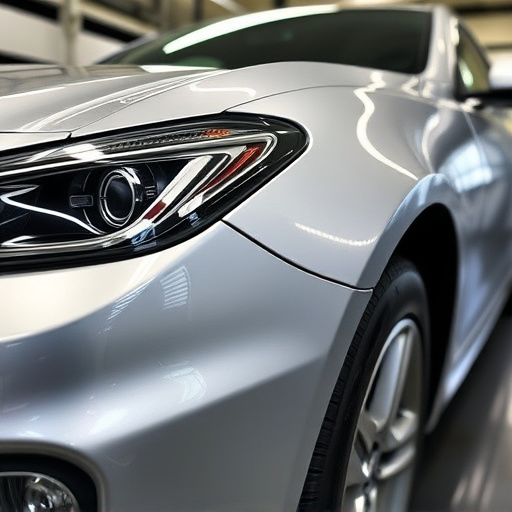
Restoring a Mercedes' signature matte finish requires skilled technicians and specialized tools to match factory perfection. The process involves cleaning, sanding, priming, and applying thin coats of matching paint, ensuring a flawless, seamless blend with the existing finish after minor incidents like fender benders. Proper cure time preserves the distinctive visual character of the Mercedes matte finish.
Restoring your Mercedes to its factory matte finish doesn’t have to be a daunting task. Whether due to scrapes, swirls, or simply wear and tear, learning how to fix matte paint can save you time and money. This comprehensive guide breaks down the process into understandable steps, from understanding the unique Mercedes matte finish to gathering the necessary tools and materials. Get ready to transform your car’s look with expert tips for achieving a pristine, factory-like finish.
- Understanding Mercedes Matte Paint Finish
- Tools and Materials for Repair Process
- Step-by-Step Guide to Restoring Factory Look
Understanding Mercedes Matte Paint Finish
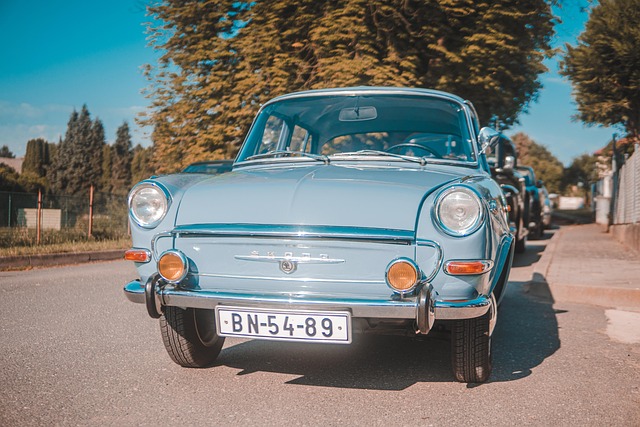
The distinctive Mercedes matte finish is renowned for its unique, non-reflective quality, lending a sleek and modern aesthetic to their vehicles. This finish is achieved through a specialized painting process that involves specific pigments and coatings designed to create a soft, diffused look. Unlike traditional glossy or satin finishes, the matte finish reduces light reflection, resulting in a more subtle and uniform appearance. This distinctive trait makes Mercedes cars instantly recognizable on the road.
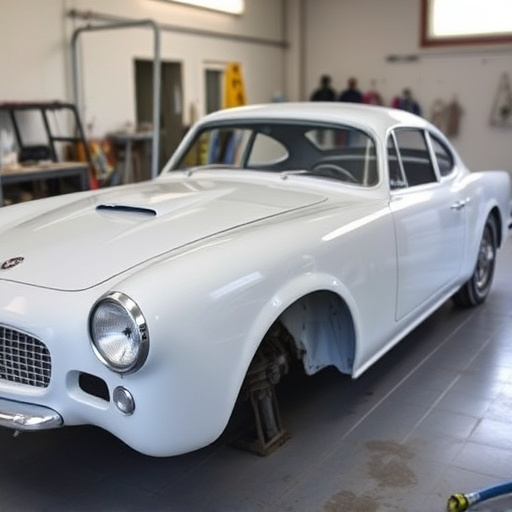
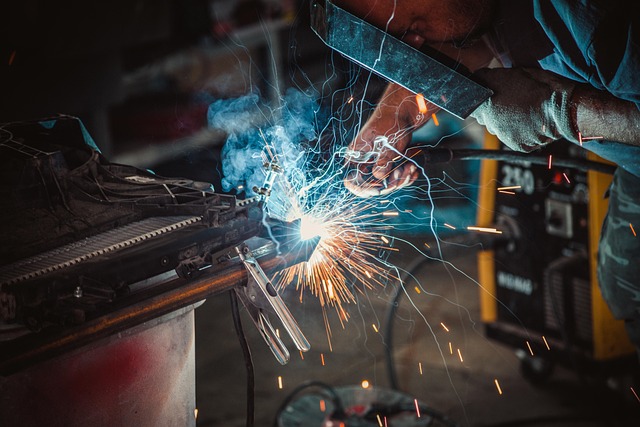
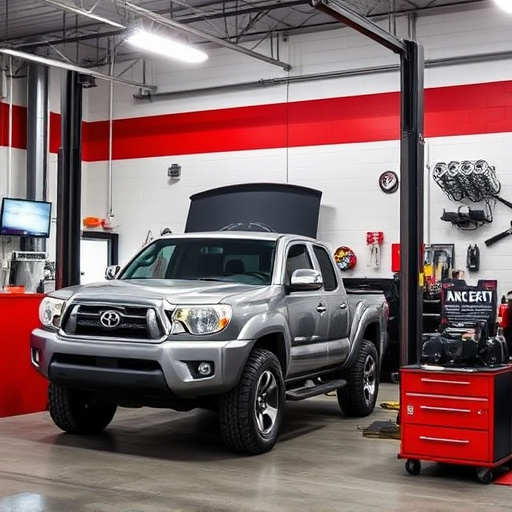
When it comes to repairs, especially after a fender bender or bumper repair, restoring this factory matte finish requires meticulous attention to detail. A visit to a reputable vehicle body shop is essential to ensure the paint match and finish quality are up to par with Mercedes’ high standards. Skilled technicians use specialized tools and techniques to blend and repair damaged areas, ensuring a seamless integration of the repaired section with the existing matte finish. This process not only restores the car’s aesthetics but also maintains its unique visual identity.
Tools and Materials for Repair Process
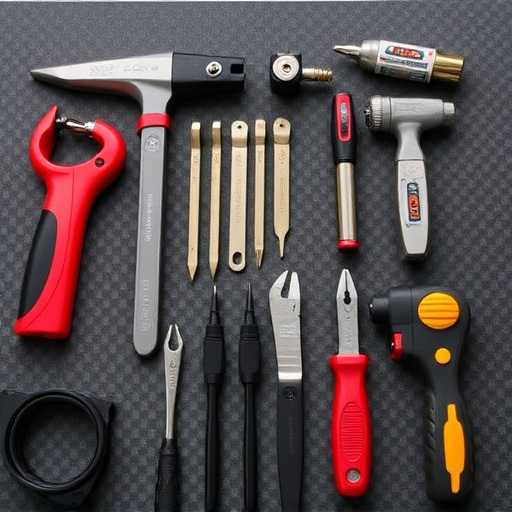
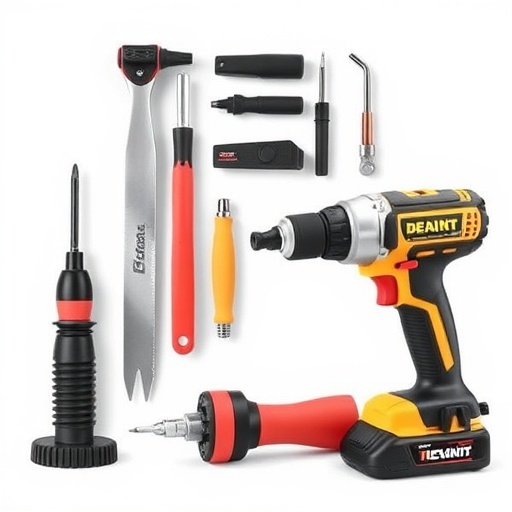
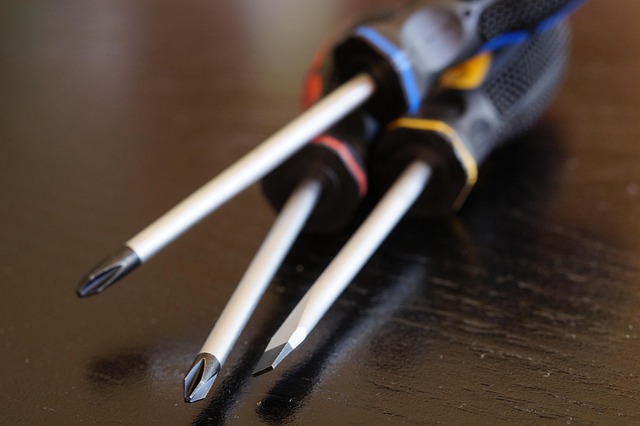
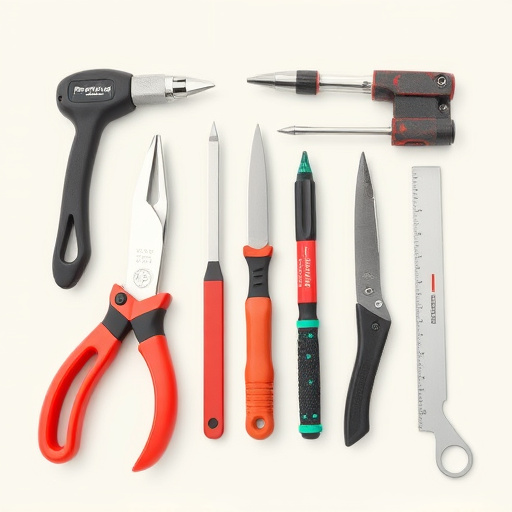
Restoring a Mercedes with a matte finish to its original factory look requires a meticulous approach and the right tools. The process begins with gathering high-quality materials suitable for automotive restoration, as this ensures a precise match to the vehicle’s unique shade. Key items on the list include specialized paints designed for matte finishes, along with various applicators like spray guns and brushes. Additionally, a car body shop might need sandpaper of different grits for smoothing the surface, cleaning solutions to prepare the panel, and masks to protect against paint fumes during application.
For an effective Mercedes matte finish repair, precision is key. This involves using tools that allow for controlled application and precise coverage. Spray guns, in particular, offer excellent control, enabling technicians to achieve even coats without runs or drips. Alternatively, fine-bristled brushes can be used for intricate details and hard-to-reach areas. The automotive restoration process demands patience and attention to detail, but with the right tools and materials, achieving a flawless, factory-like matte finish is within reach.
Step-by-Step Guide to Restoring Factory Look
Restoring a Mercedes with a matte finish to its original factory look involves a meticulous process that requires both skill and patience. Here’s a step-by-step guide for achieving this:
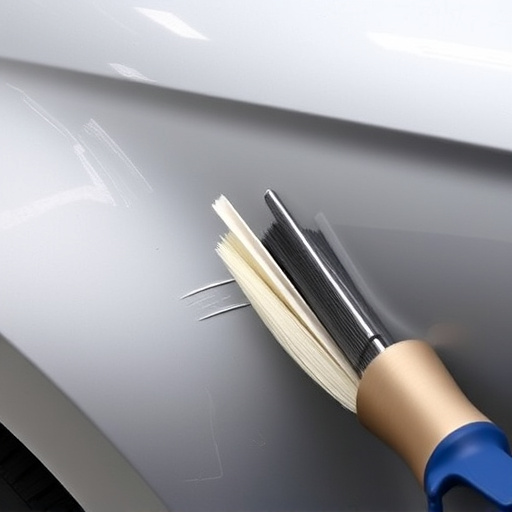
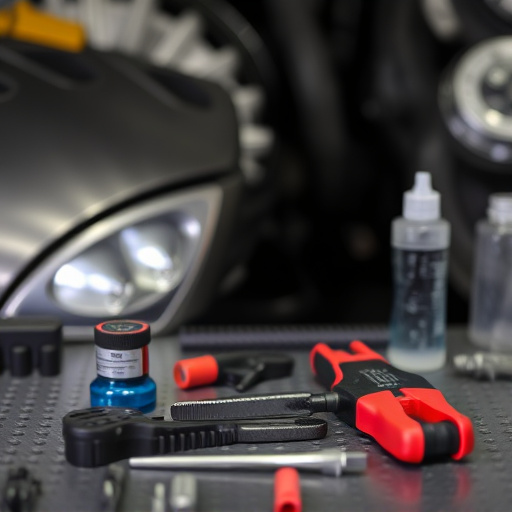
1. Preparation: Begin by thoroughly cleaning the damaged area using a mild detergent and deionized water. Remove any loose debris or dirt to ensure a clean surface. Dry the area completely before proceeding to the next step. This is crucial for achieving optimal adhesion during repairs.
2. Dent Removal (if applicable): If there are dents or dings, use specialized tools and techniques such as paintless dent repair (PDR) to gently remove them. This process avoids adding extra layers of paint, preserving the integrity of the original matte finish.
3. Sandpaper and Priming: Lightly sand the damaged area using fine-grit sandpaper to create a smooth surface. Remove any remaining imperfections or old paint. Apply an appropriate primer designed for Mercedes vehicles and allow it to dry completely. This step ensures even paint application and adheres well to the existing matte finish.
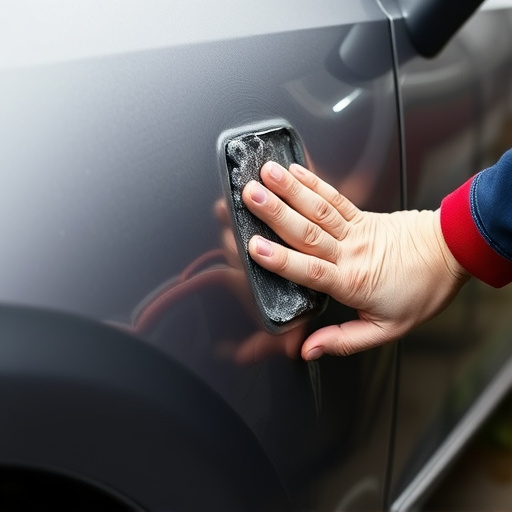
4. Matching Paint Application: Mix the exact shade of factory matte paint using high-quality pigments, ensuring a perfect match. Apply the paint in thin, even coats, allowing each layer to dry thoroughly. Use a spatter gun or airbrush for precise application, especially in tight corners and contours.
5. Final Touches and Inspection: After the last coat dries, inspect the repaired area closely. If needed, touch up any minor imperfections with additional paint. Ensure the surface is smooth, free of runs, or uneven spots. Once satisfied with the results, allow the paint to cure completely before driving the vehicle.
Restoring a Mercedes with a matte paint finish to its factory specifications is an art that requires precision, the right tools, and quality materials. By understanding the unique characteristics of Mercedes’ matte paint and following a meticulous step-by-step guide, enthusiasts can achieve outstanding results. This process not only enhances the car’s aesthetic appeal but also preserves its value, ensuring it stands out as a true testament to automotive craftsmanship. With the right approach, repairing and restoring that factory matte look is achievable for anyone dedicated to keeping their Mercedes in top condition.